
What Everyone Overlooks During Putting Practice
In golf, precision matters the most in putting. That’s a fact. At the end of the day, we have to place a 1.68 inch golf ball into a 4.25 inch cup. That’s a little different than hitting the golf ball within a 25-65 yard fairway, or landing this ball inside a 20-30 yard green. Still not convinced? If the face of your putter is open/closed 2 degrees at impact, you will miss the hole from 5 feet! At 8 feet, the angle of the face needs to be less than 1 degree open/closed to go in. Just for fun, let’s look at an even longer putt. At 15 feet the putter face needs to be less than 0.5 degrees open/closed for the putt to go in.
So why is it that we practice putting like we practice our full swing? Hear me out. In the full swing, we know it’s close to impossible to hit a ball dead straight. We all shape the ball one way or another and still produce good results. The length of the club, ball position, posture and our stance intermittently change depending on the shot we have at hand. For that reason, you are not going to see too many pros measuring how far they should stand from the ball on any given shot. That would require an enormous amount of time and patience.
When putting, we have to roll that ball on our intended target line. If we are off, we will more than likely miss the putt. The length of the club, ball position, posture and stance should not change no matter what length of putt you have. If you disagree with that, let’s focus more on 20 feet and in so we can all agree here. Now, how many of you believe that you consistently set up the same way, every time you approach the ball on the putting green? Before you answer that, have you tested and measured this before? I’m confident that 99% of golfer’s never practice this.
When you are putting poorly, do you ever consider that ball position could be the culprit? Now, I’m not just talking about forward or back of middle relative to your stance. What players and coaches frequently overlook is how far they stand from the ball. I see it all the time, even on tour! Take for example, all the guys that use a putting mirror. Do you think that because you place your eyes in the same position, the distance between you and the ball stayed the same? Has it ever crossed your mind that you might be a 1/2 inch further away but you bent your neck forward a bit? Now you’re pulling the putter inside a bit more and making contact on the toe. Therefore, you start blaming your mechanics and immediately blame face rotation. Uh oh, here we go again! 6 months of playing like shit because you don’t know the root cause of the problem.
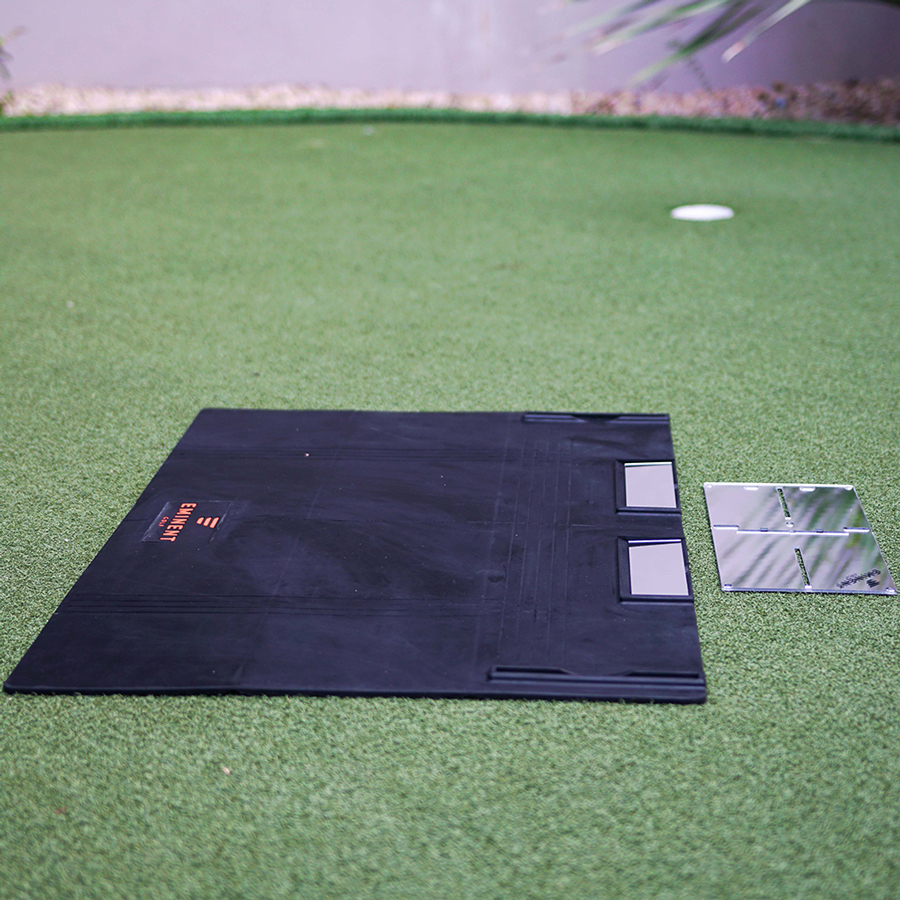
For this exact reason, I designed the all new PAS Template Mat. I’m going to briefly explain how to use this template. For those of you that don’t like to read, click HERE for an in depth tutorial video.
1. Evaluation
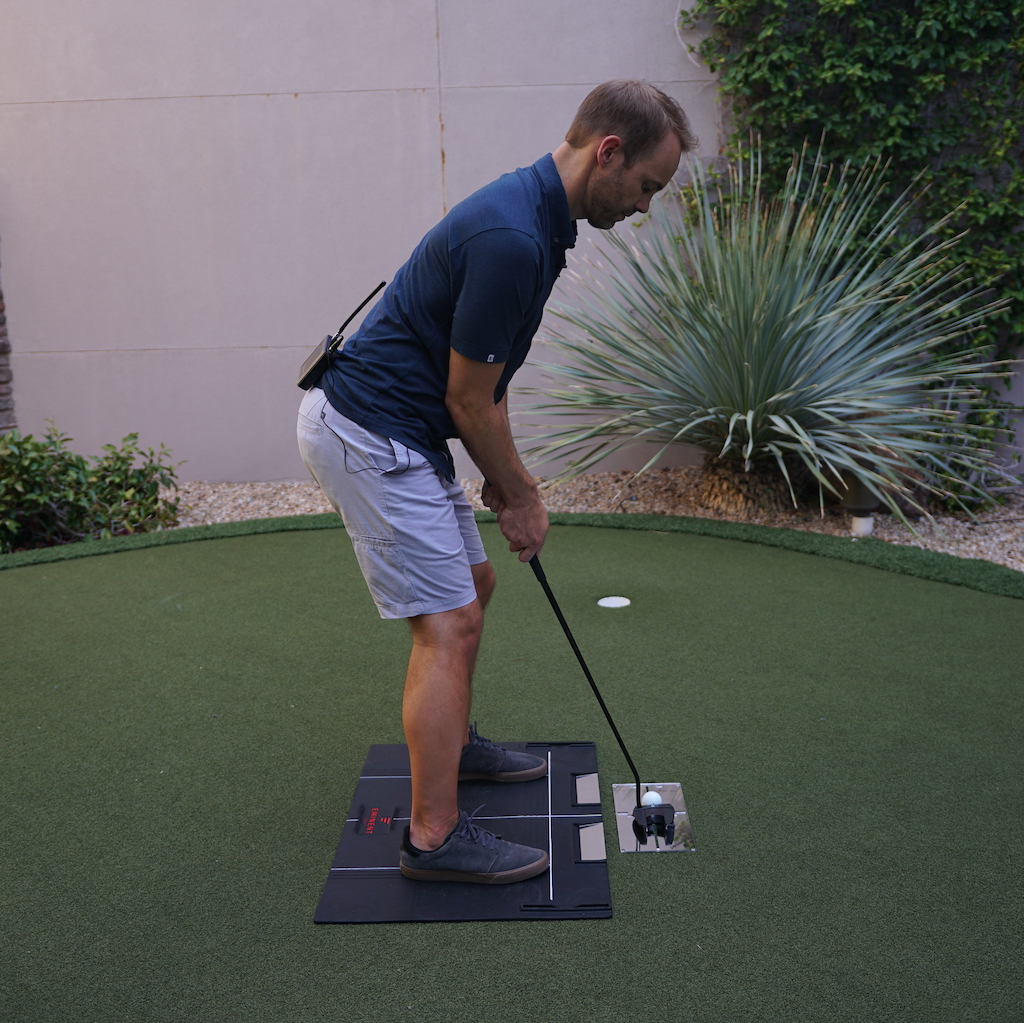
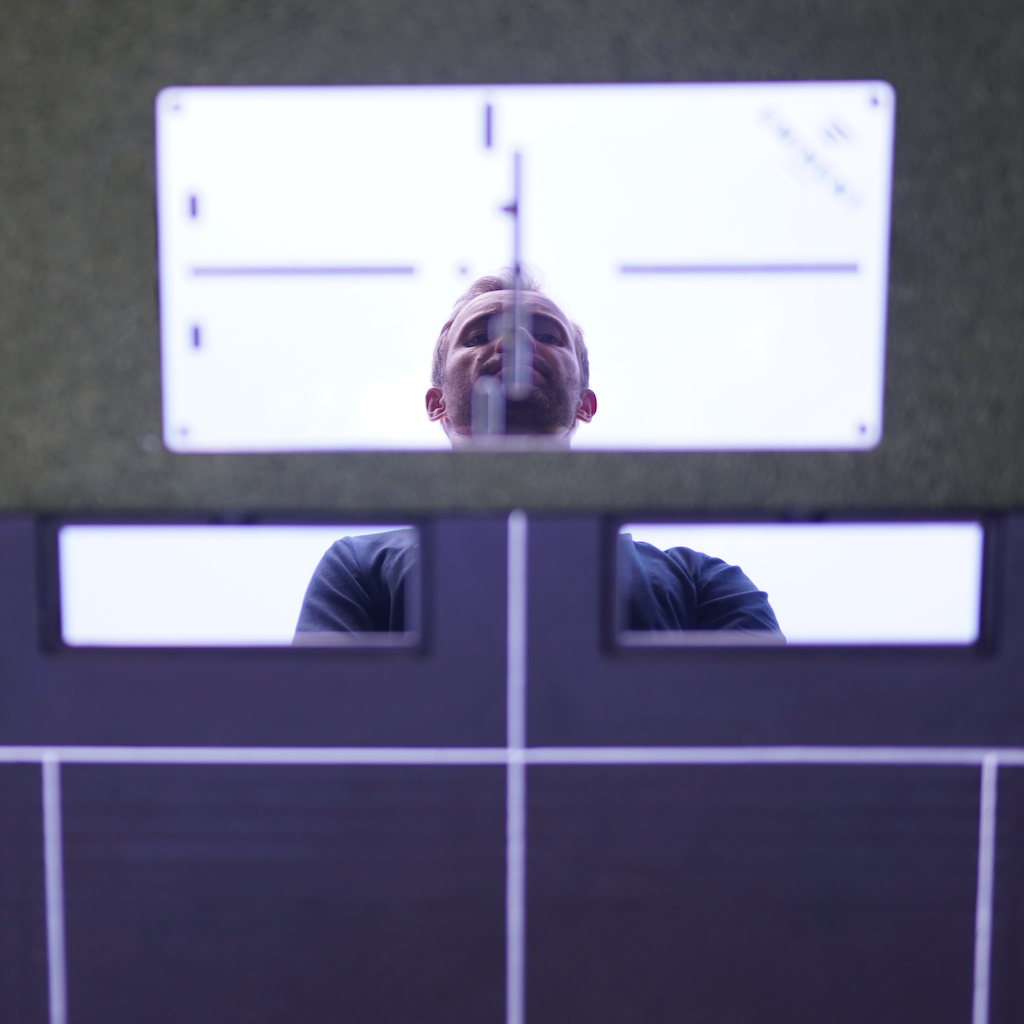
Prior to marking your template, you and your coach need to decide how far you should stand from the ball. This is by far the most important step. We will base everything else from this measurement. You can certainly use a mirror, just make sure both ends are equal distance from the mat (perfectly parallel to the mat). From there, you can get your eyes in place, get comfortable with your feet and anything else you and your coach have worked on. Once you feel comfortable in that position, you can personalize your mat and mark your template.
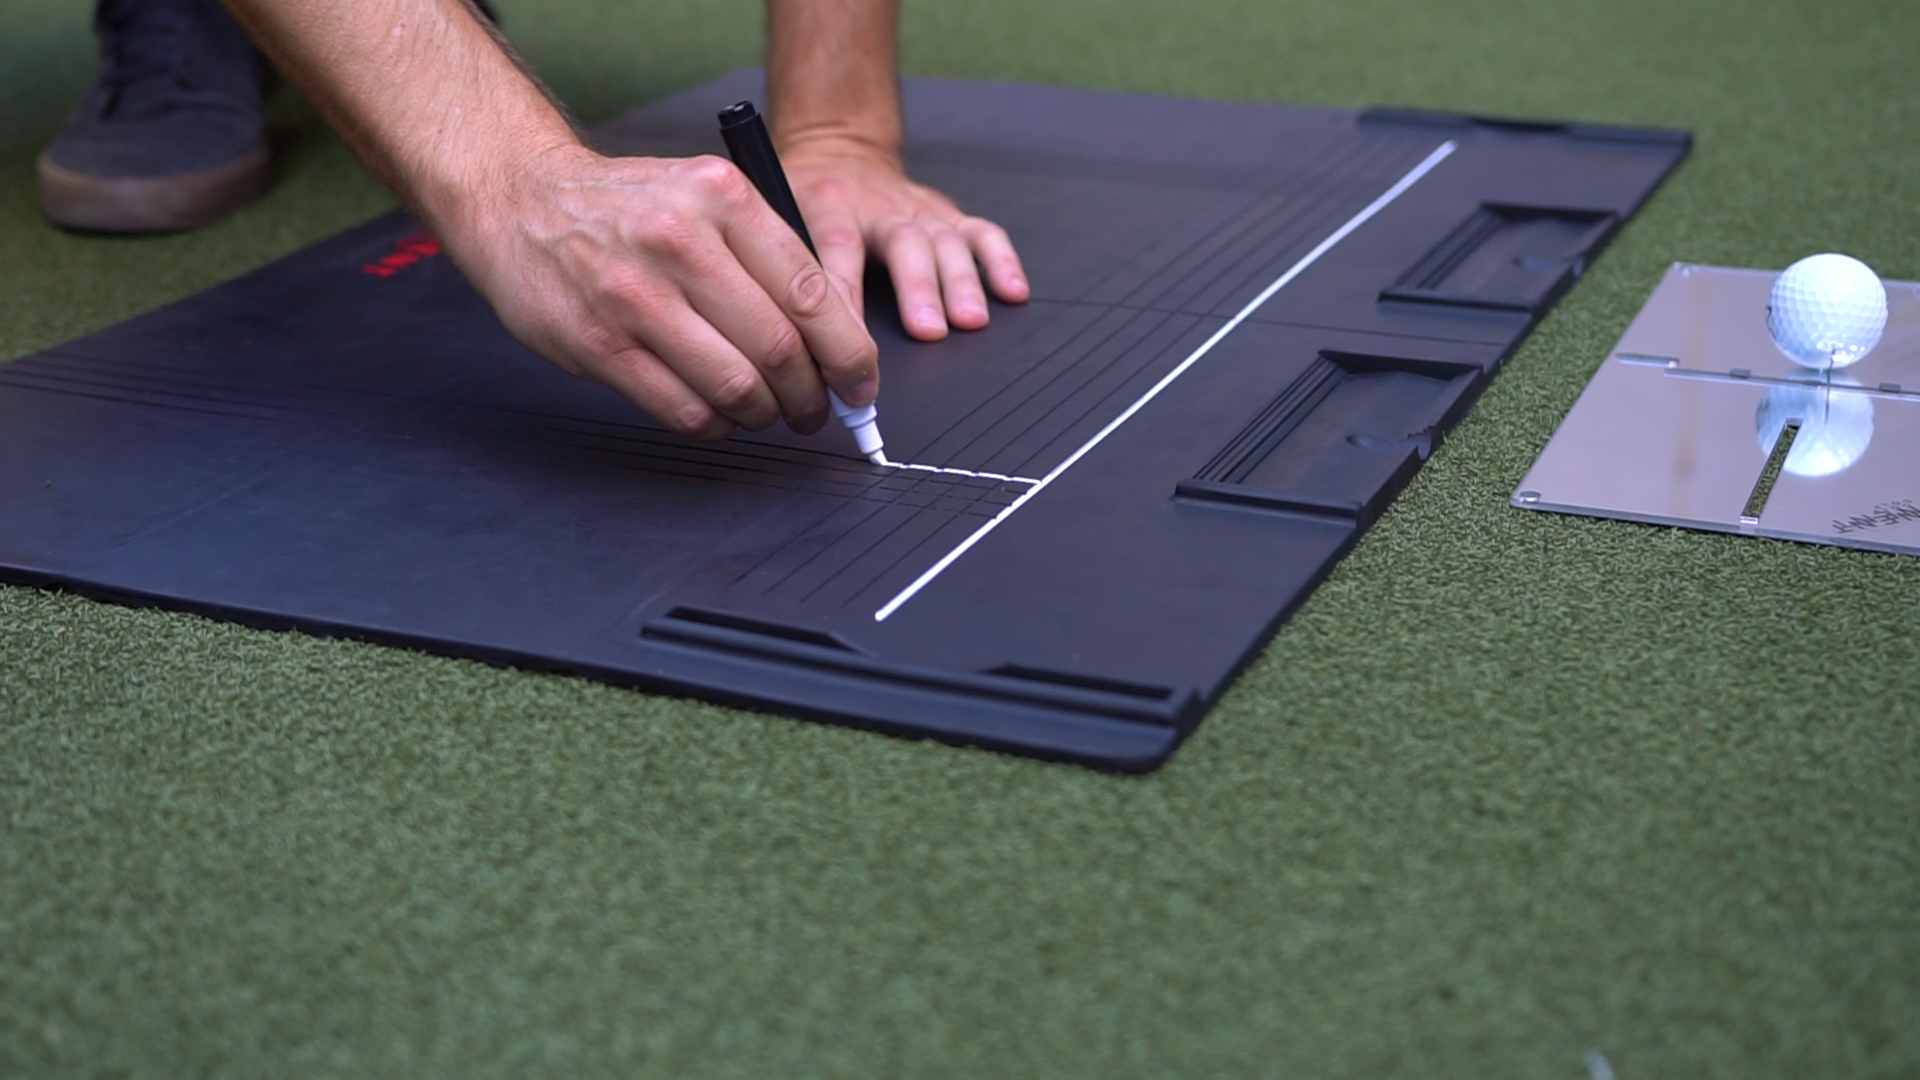
2. Measure
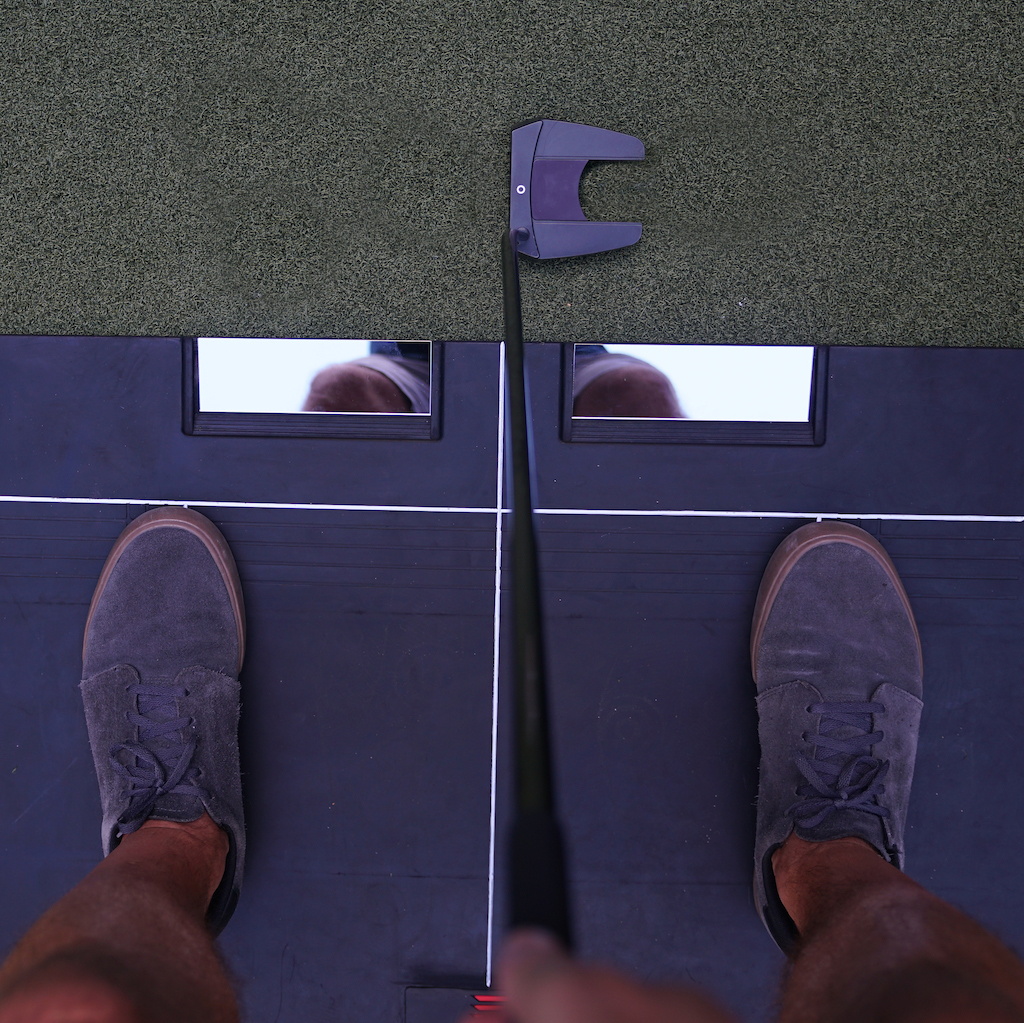
The next step is to measure how far the ball is from the mat. Store that in your brain or write it down. If you plan to use an alignment plate from time to time, measure how far the edge of the plate should be from the mat. For example, I place the ball 4 inches away from the mat. When I use a stencil alignment plate, I just need to ensure that each edge is 1 inch away from the mat. The target line on the plate is 3 inches from the edge. 1+3=4 in case someone got lost.
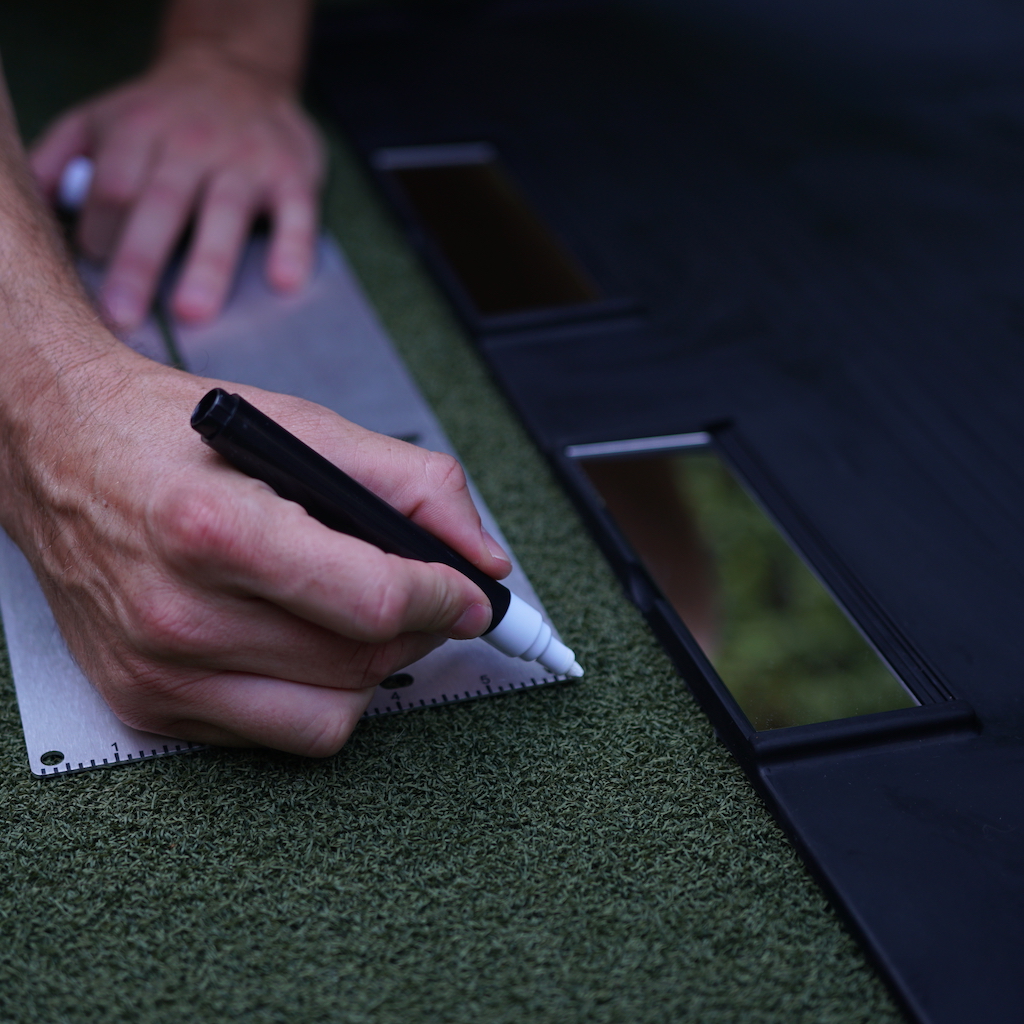
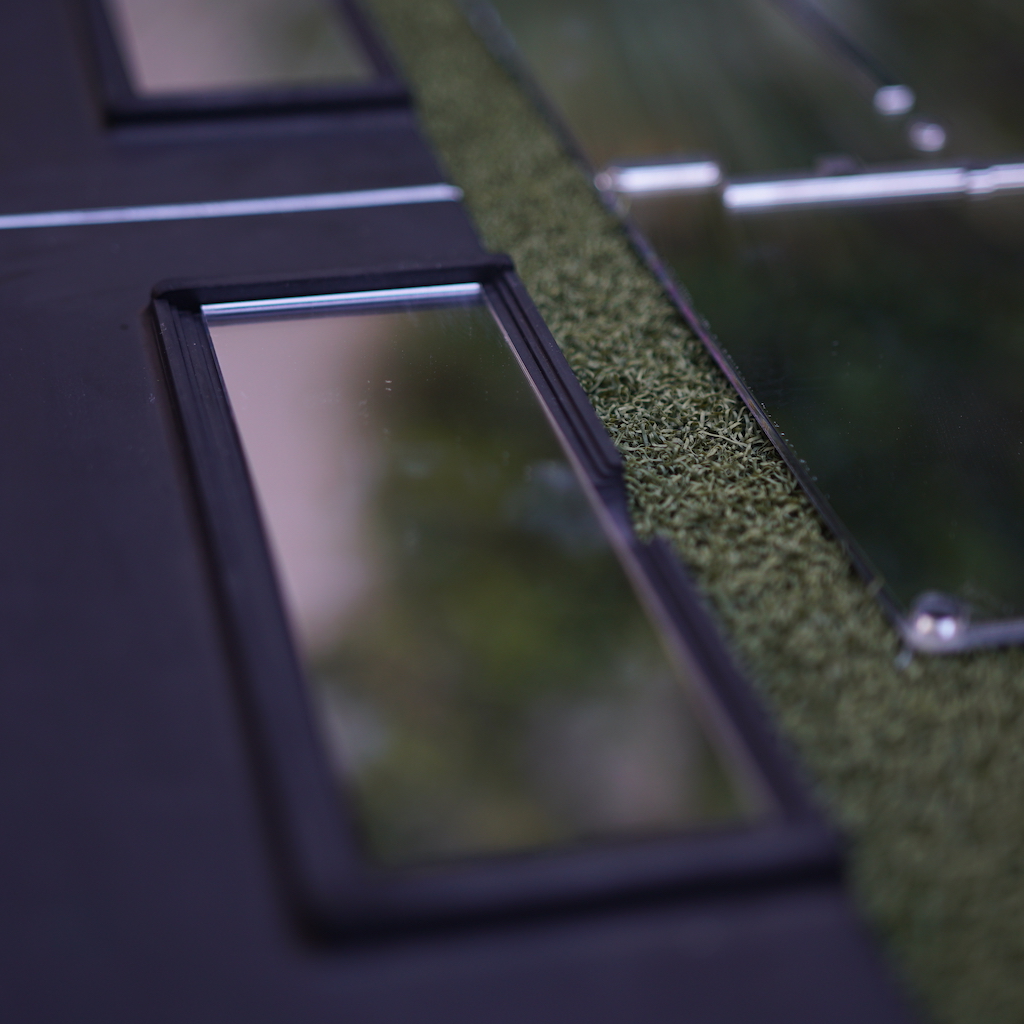
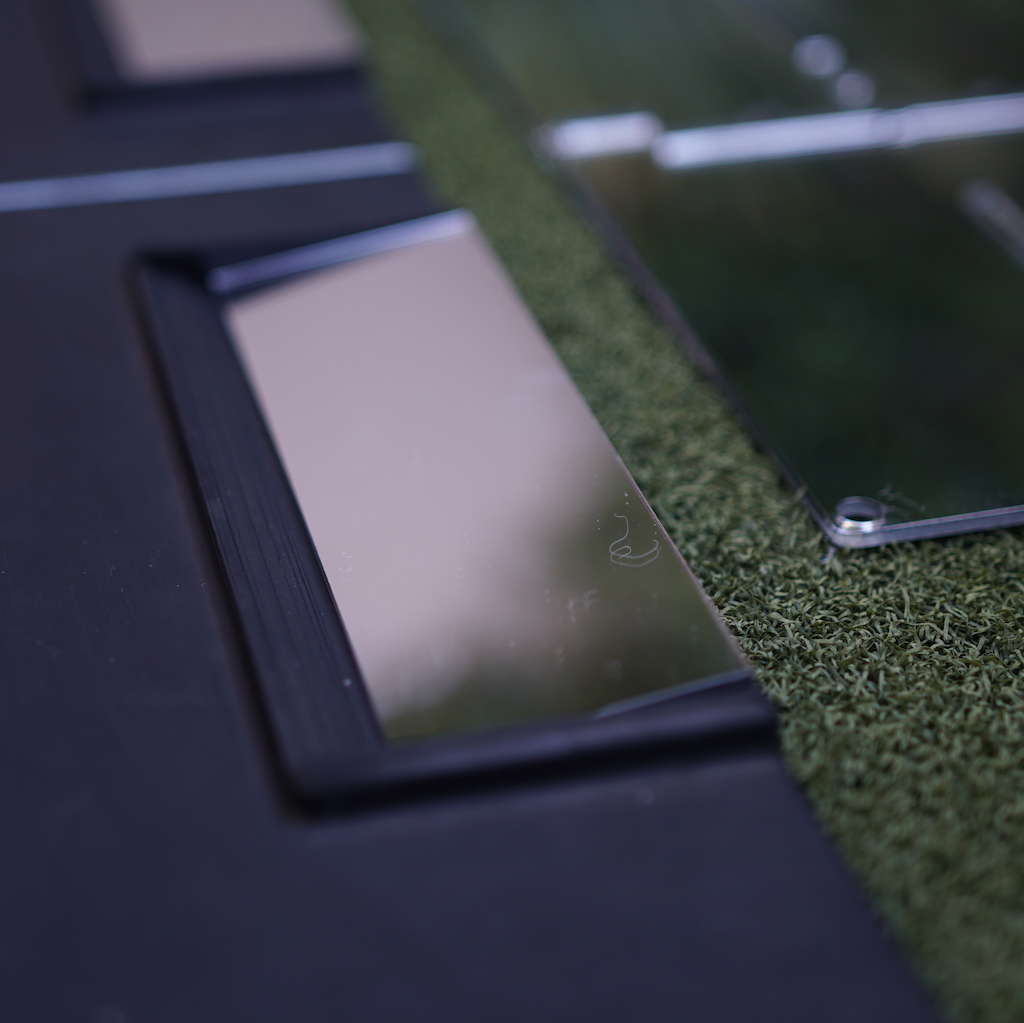
3. Mirror Insert Settings
Now lets’ figure out your settings for the mirror inserts. These inserts will ensure that your shoulders and knees are aligned correctly. Being that we already marked our template, we can set both mirrors in place. Now get into your posture using the template and the alignment mirror for your eyes. Form here, verify that you can see your shoulders in both of the small mirror inserts. Go through a little trial and error until you find the right angle setting for you. Then remember that setting. Repeat this process for your knees.
Knowing how far you stand away from the ball and ensuring your eyes are in a good position is a great start. But thats not enough. Adding shoulder alignment or knee alignment improves your posture even more. More often than not, if you have all of these things in place, your posture is on point.

Are you looking to take your game to the next level? If so, focus on putting. That is the easiest place to start. If you can ensure that you are consistently set up the same way, it will make it that much easier to analyze errors in your stroke. The PAS Template Mat is available for pre-order now. Click HERE if you would like to pre-order one today.
I strive to make the best putting aids on the market. I don’t make them to replace coaches and instructors. I make them so you get the most out of your practice sessions when your coach is not around. Here is to better putting!